Introduction
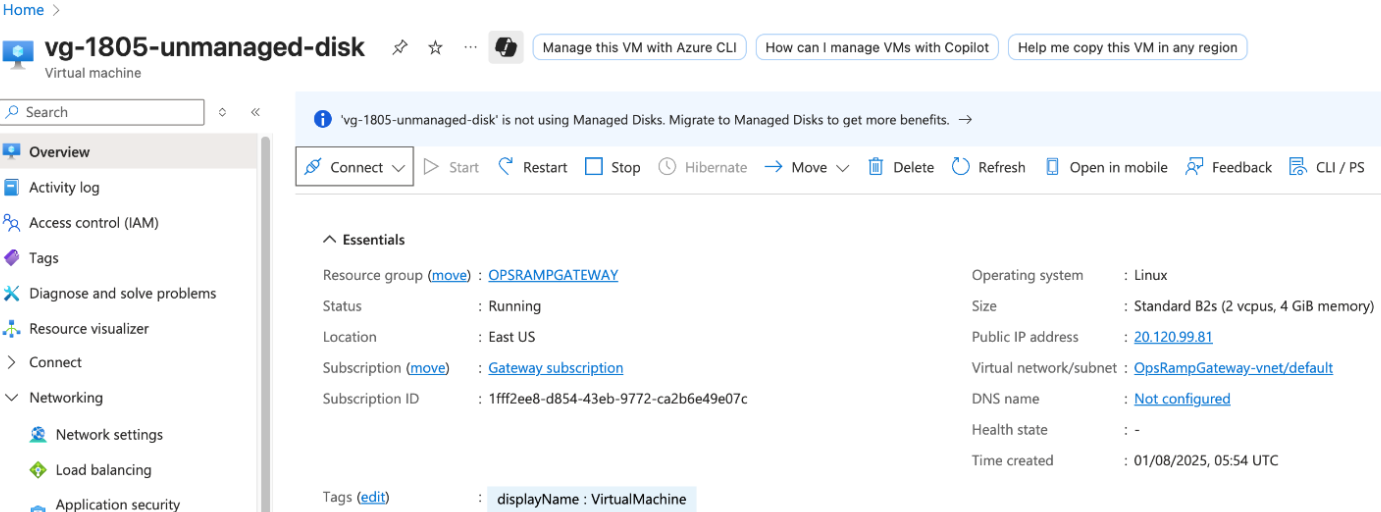
You can migrate your Linux virtual machine (VM) from unmanaged disks to managed disks directly using the Azure Portal. This process involves stopping the VM temporarily while the disk is converted.
Prerequisites
- Ensure you have access to the Azure Portal.
- Verify that you have appropriate permissions (Owner or Contributor role).
- If your VM is part of an Availability Set, it must be migrated before migrating the disks. The portal will display a warning if this applies.
Steps to Migrate Using the Azure Portal
Step 1: Sign In
- Open the Azure Portal.
- Sign in with your Azure credentials.
Step 2: Select the Virtual Machine
- In the left-hand menu, go to Virtual Machines.
- Select the VM that you want to migrate.
Step 3: Open the Disks Blade
- In the VM menu, click on Disks.
- This opens the disk settings for your VM.
Step 4: Start Migration
- At the top of the Disks pane, click Migrate to managed disks.
- If your VM is in an Availability Set, a warning will appear.
- Click the provided link to migrate the Availability Set first.
- Once that is complete, return to this step.
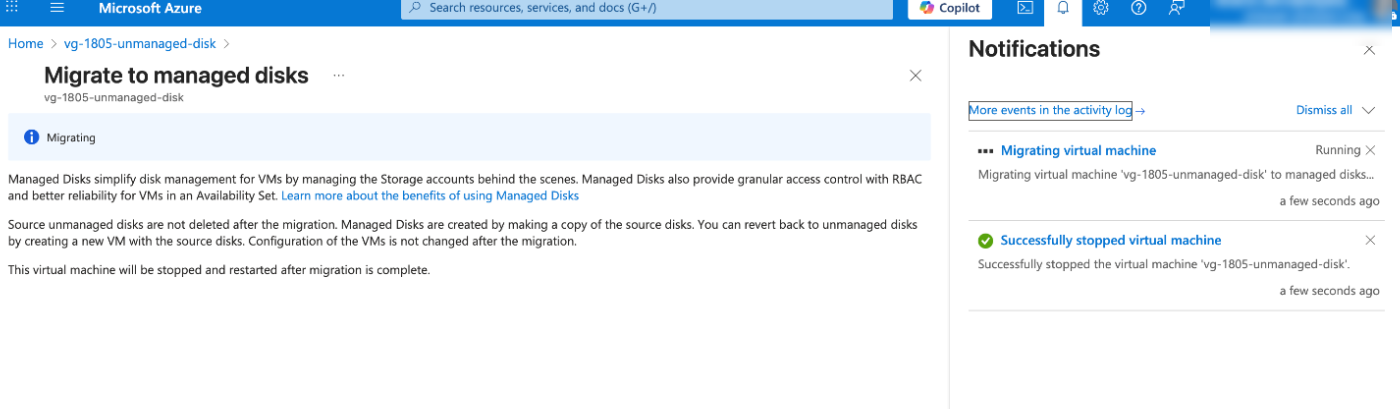
Step 5: Complete Migration
- Click Migrate to begin the disk conversion process.
- The VM will be stopped automatically during migration.
- Once the migration is complete, the VM will be restarted automatically.
What Happens After Migration
Before Migration
- The OS Disk is listed as Unmanaged.
- Disk details show a URL path, indicating that the disk is stored in a storage account.
- The disk name will also indicate it is unmanaged.
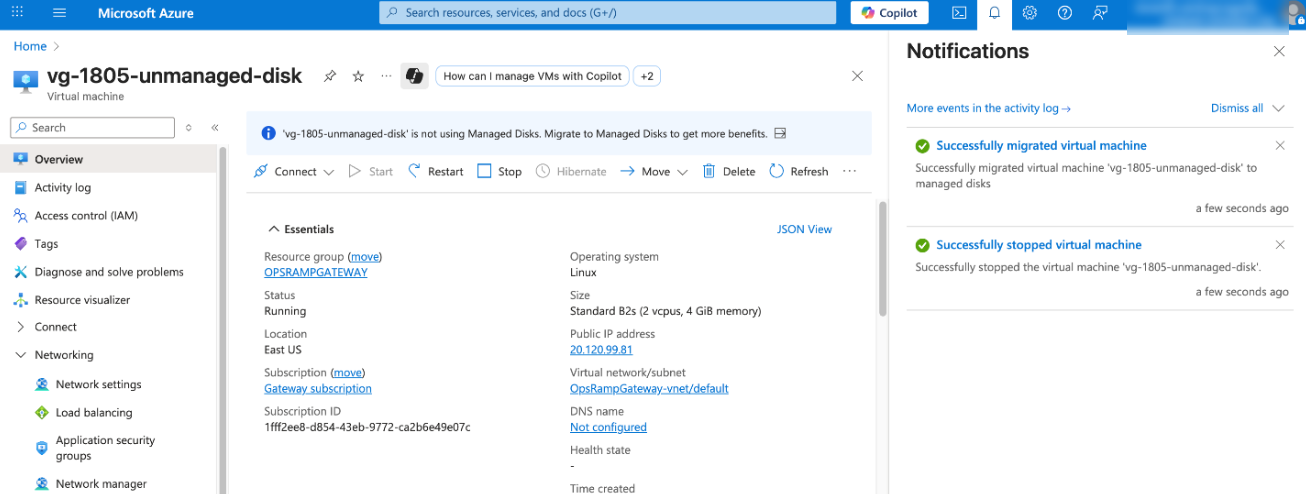
After Migration
- The warning message about unmanaged disks disappears.
- The OS Disk is listed as a Managed Disk.
- Disk details show:
- Storage type (e.g., Standard HDD LRS).
- No URL path, confirming the disk is now managed.